


Cleaning your rubber floors the right way is a straightforward, actionable process. You just need a good pH-neutral cleaner, a microfiber mop, and a firm rule to keep harsh chemicals like bleach far away. Following this simple game plan is all it takes to prevent damage, get rid of grime, and keep your floors in great shape for years, directly benefiting your facility's safety and appearance.
Why Smart Rubber Floor Care Is Non-Negotiable
Thinking that rubber floor care is just about looking good is a huge mistake. It's actually a core part of running a smart business, directly impacting safety, the lifespan of your assets, and overall hygiene. If you slack on it, you’re setting yourself up for financial and operational headaches that are completely avoidable, such as increased slip hazards and premature flooring replacement costs.
Real-World Example: Picture a busy commercial gym. Without a solid cleaning routine, the mix of sweat, dirt, and dust quickly turns the floor into a slick, dangerous surface. One fitness center I consulted with cut its slip-and-fall incidents by over 30% simply by implementing a daily dust mop and a weekly damp mop schedule. This simple, actionable change protected their members and drastically cut their liability risk, demonstrating a direct benefit to their bottom line.
Protecting Your Investment
Beyond keeping people safe, smart cleaning protects the money you've invested in your flooring. Rubber is tough, but it’s not indestructible. Dousing it with harsh, acidic, or highly alkaline cleaners will eat away at its protective layers, making the material brittle, discolored, and weak.
Real-World Example: A warehouse I worked with managed to squeeze an extra five years out of its floor, saving tens of thousands on a premature replacement. Their secret? They ditched a generic, aggressive degreaser for a specialized pH-neutral cleaner. This one small switch stopped the chemical breakdown and preserved the floor’s ability to stand up to heavy equipment and constant foot traffic—a clear benefit of using the correct cleaning agents.
You can see the growing focus on maintenance in the market. The global demand for rubber cleaning sheets, a related product, hit about $1.2 billion in 2023 and is expected to climb to $2.1 billion by 2032. It’s a clear sign that people are taking hygiene more seriously. You can find more on this trend over at Dataintelo.com.
The Hygiene Imperative
Finally, you just can't compromise on hygiene, especially in places like clinics, daycares, or even high-end spas. Rubber can be porous, meaning it can become a breeding ground for bacteria and germs if it isn't cleaned right. A consistent schedule using the right disinfectant is non-negotiable for creating a healthy space for everyone. When you understand the unique properties of different surfaces, from gym floors to the various boat flooring materials out there, it becomes obvious why specialized care is so critical for safety and durability.
Gathering Your Essential Cleaning Toolkit
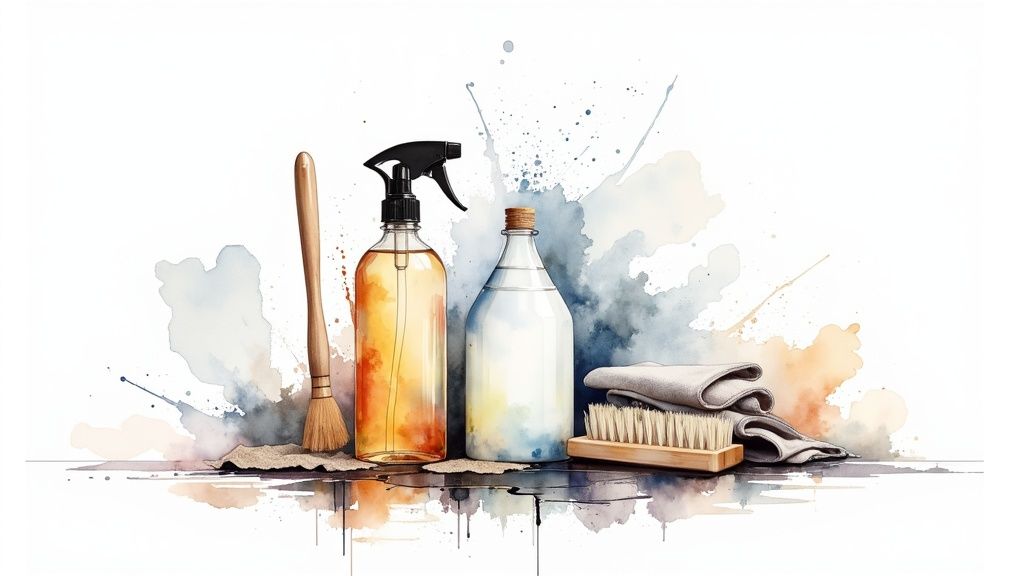
Before you even think about starting to clean, getting your gear in order is half the battle. Having the right equipment makes all the difference between a quick, effective job and a frustrating one that might even damage your flooring. For rubber surfaces, your toolkit should be simple but specific—the goal is to get rid of the grime without harming the material itself.
The real star of the show here is a good microfiber mop. Forget those old-school cotton mops that just push dirty water around and leave lint behind. Microfiber's tiny fibers are designed to actively grab and lift dust, dirt, and bacteria, giving you a much deeper clean. This is especially important for rubber floors, where excess moisture from a sopping wet cotton mop can seep into the seams and mess with the adhesive underneath.
Simply put, a microfiber mop uses less water, cleans better, and protects your investment.
Choosing Your Cleaning Solution
The most critical decision you'll make is picking a pH-neutral cleaner. You're looking for a product with a pH level right around 7. Check the label—anything too acidic (below 7) or too alkaline (above 7) can eat away at the rubber, making it brittle, faded, or crumbly over time.
If you want a good overview of what to grab before you head to the store, an essential basic cleaning supplies checklist can be a huge help.
Pro Tip: When in doubt, keep it simple. A bucket of warm water with a tiny squirt of mild, bleach-free dish soap is a perfectly safe and effective homemade cleaner for rubber floors.
What you don't use is just as important as what you do. Stay far away from these rubber floor killers:
- Bleach and Ammonia: These are highly alkaline and will cause permanent discoloration and damage.
- Oil-Based or Solvent Cleaners: Products like Pine-Sol or WD-40 are notorious for breaking down the rubber’s composition.
- Abrasive Scouring Pads: Steel wool or harsh scrubbing pads will leave scratches and permanently mar the floor’s surface.
Getting your toolkit right is a foundational step. It’s just as crucial as having the right mats to stop dirt at the door in the first place. For more on that, check out our guide on how to choose the best entrance floor mats for your business.
Your Daily and Weekly Cleaning Rhythm
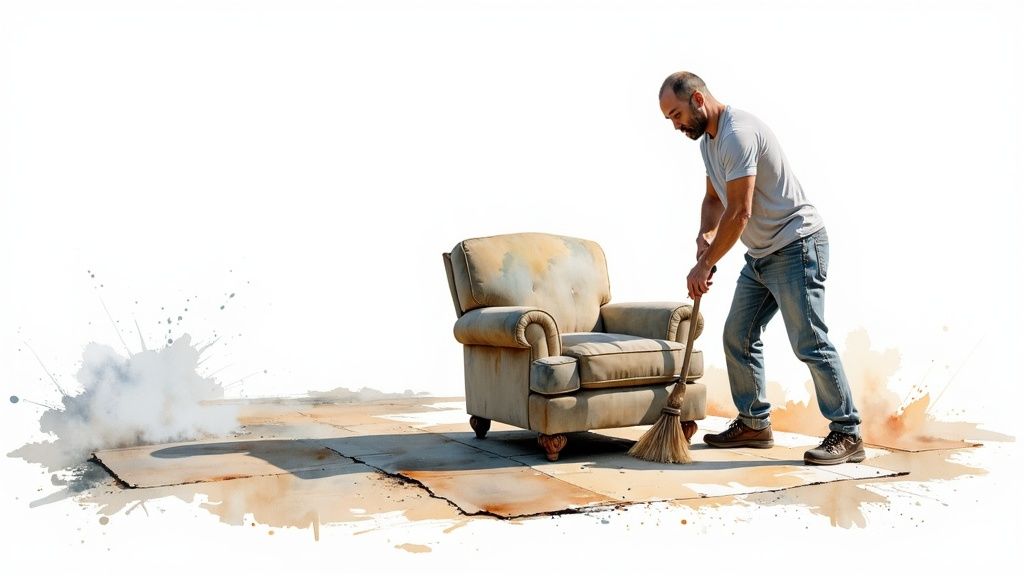
Consistency is everything when it comes to keeping your rubber flooring in top shape. Instead of letting dirt and grime build up into a major project, a simple daily and weekly routine is the best way to protect your investment. Think of it less as a chore and more as proactive maintenance.
This approach keeps your floors looking great and, more importantly, safe with surprisingly little effort.
The Daily Dry Clean
Every day, your main goal is to get rid of the loose stuff—the grit, sand, and fine dirt that acts like sandpaper under every footstep. If you let it sit, it will slowly grind away at your floor's surface and dull its finish.
A microfiber dust mop is your best friend here. Just a quick pass over the entire area is usually enough to trap all those tiny abrasive particles.
Real-World Example: Think about a busy school hallway. A five-minute sweep with a good dust mop at the end of the day stops thousands of footsteps from grinding that day's dirt into the rubber. This one simple step drastically cuts down on how much grime gets tracked elsewhere and makes your weekly clean much easier, saving staff time and preserving the floor’s finish.
The Weekly Damp Mop
At least once a week, it’s time to break out the mop and give the floor a proper clean. This is when you’ll lift away the more stubborn surface soil and any minor spills that happened during the week.
This is where you need to use the two-bucket method. It's a non-negotiable for getting a genuinely clean rubber floor.
The two-bucket method is a game-changer. One bucket holds your cleaning solution, and the other has clean rinse water. After you mop a section, wring out the dirty mop head in the rinse bucket before putting it back in the cleaning solution. This stops you from just pushing dirty water around.
The floor cleaning equipment market is huge—valued at USD 13.67 billion in 2024—and it's only getting bigger. This investment in new technology means tools like auto-scrubbers and smart mops are constantly improving, making our jobs easier. You can learn more about the evolution of floor cleaning equipment and how it’s changing maintenance.
Sticking to a consistent schedule like this is what keeps a facility looking professional and feeling safe, week in and week out.
To make things even simpler, here's a quick-reference table that breaks down the essential tasks for keeping your rubber flooring in top condition.
Your Rubber Floor Maintenance Schedule
| Task | Frequency | Primary Goal | Pro Tip |
|---|---|---|---|
| Dust Mopping | Daily | Remove loose grit & debris | Use a high-quality microfiber dust mop for the best particle pickup. |
| Spot Cleaning | As needed | Address spills immediately | Keep a spray bottle of pH-neutral cleaner handy for quick cleanups. |
| Damp Mopping | Weekly | Remove surface soil & grime | Always use the two-bucket method to avoid spreading dirty water. |
| Deep Cleaning | Quarterly | Strip old finish & re-seal | Hire a professional or use an auto-scrubber for the most effective results. |
Following this schedule takes the guesswork out of maintenance and ensures your floors will look and perform their best for years to come.
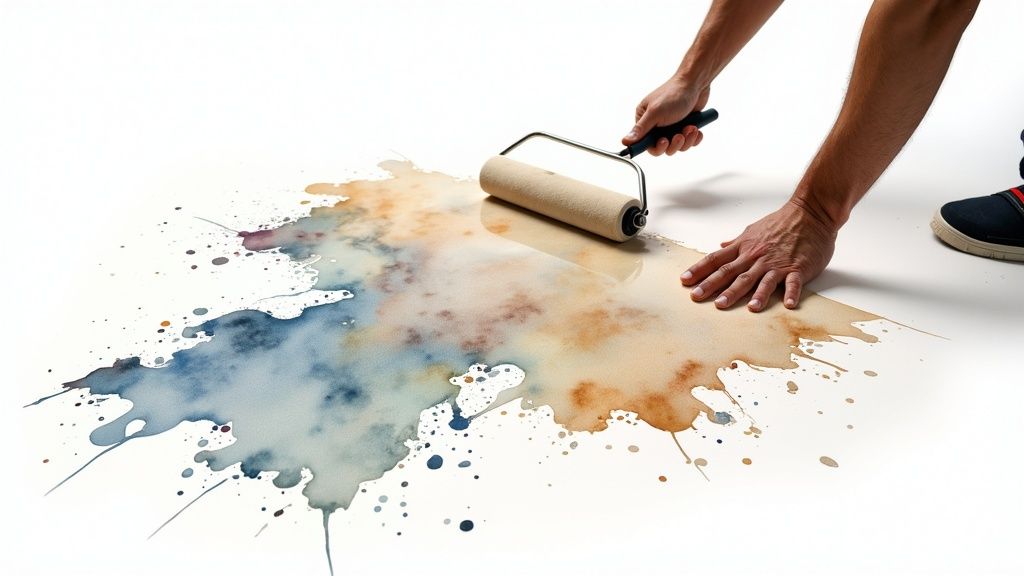
Mastering the Art of the Deep Clean
Your daily and weekly cleaning rhythm is essential, especially in high-traffic commercial spaces. But it’s the periodic deep clean that truly restores and protects your investment. This isn't just a slightly more intense mop; it's a semi-annual process that goes beyond the surface to revive tired-looking rubber floors and reinforce them against heavy wear and tear.
Real-World Example: Think of a busy hospital waiting room. Countless shoes track in dirt and scuff the surface every single day. While a routine damp mop keeps things tidy, only a deep clean can fully lift the embedded grime and restore the floor's original sheen. That fresh appearance directly impacts how patients perceive the facility's overall cleanliness and standard of care.
Prepping for a Deeper Clean
The first step in any effective deep clean is proper preparation. You have to get everything out of the way. Here’s how to do it right:
- Clear the Area: Remove all furniture, equipment, or any other obstacles from the floor.
- Thorough Dry Clean: Give the entire space a meticulous sweep or vacuum to remove all loose debris. The last thing you want is to turn dry dirt into an abrasive sludge once you add water. This prep work is non-negotiable for a good result.
For those looking to elevate their facility's standards, a thorough deep clean for your rubber floors fits perfectly within a comprehensive deep cleaning checklist for the entire building.
Key Insight: A deep clean isn't just about making the floor look good. It's about stripping away the accumulated grime that regular mopping simply can't lift. This process prepares the rubber to properly accept a new layer of protective sealant, which extends its life and makes future daily cleaning much more effective.
Using an Auto-Scrubber for Large Spaces
For large commercial areas, an auto-scrubber is an absolute game-changer. These machines are incredibly efficient, applying the cleaning solution, scrubbing the floor, and vacuuming up the dirty water all in a single pass. It’s a level of even, consistent cleaning that’s pretty much impossible to achieve by hand.
When you use one, make sure you equip it with a soft, non-abrasive pad or brush to avoid scratching the rubber surface. Stick with a pH-neutral cleaner and follow the manufacturer's dilution instructions to the letter. This systematic approach is critical for cleaning rubber floors properly and getting professional results without causing damage. You can find more specific guidance in our detailed post on cleaning rubber flooring.
The image below breaks down a simple, effective process for deep cleaning smaller or more targeted areas by hand.
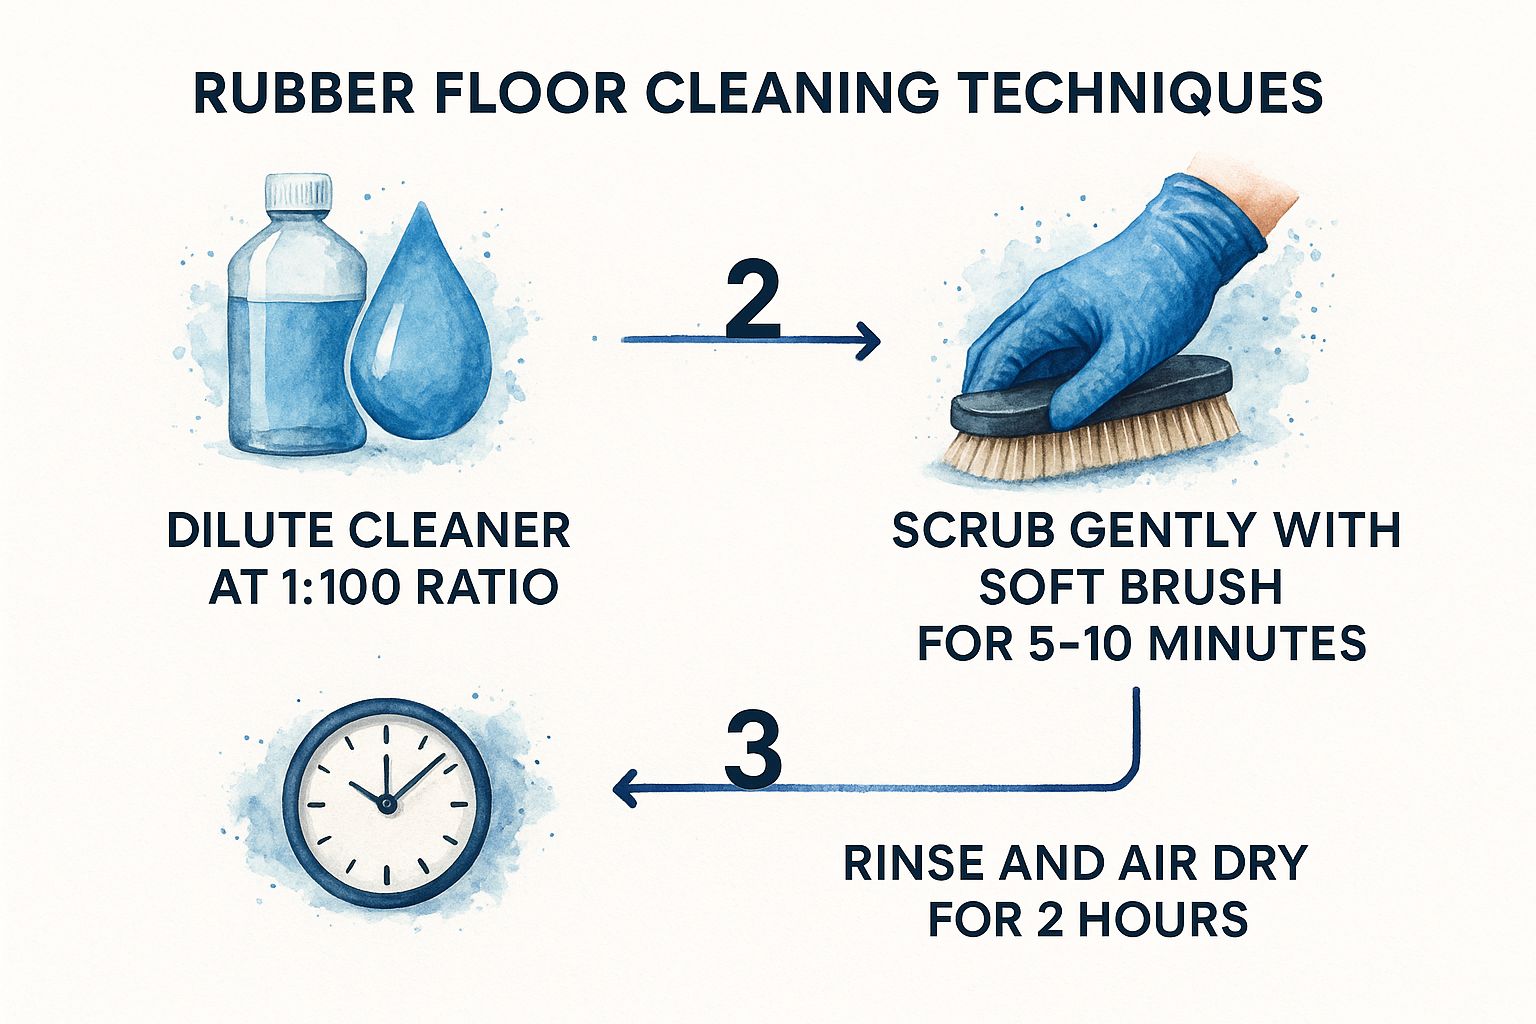
This visual guide really highlights the core principles: proper dilution, gentle agitation, and giving the floor enough time to dry completely. These fundamentals are the key to a successful deep clean, whether you're using a machine or a mop.
Solving Common Scuffs, Stains, and Spills
Even with a flawless cleaning schedule, life happens. Scuff marks, mystery stains, and the occasional spill are inevitable, but knowing how to tackle them quickly is what keeps your floor from looking worn out before its time.
The good news? Most common issues with rubber flooring are surprisingly easy to fix with a targeted approach and a little insider knowledge.
Real-World Example: Take those annoying black scuff marks from trainers in a gym. Your first instinct might be to scrub hard, but that can actually damage the rubber’s surface. Instead, try the old tennis ball trick. Just grab a clean tennis ball, attach it to the end of a mop handle, and rub it over the scuff. The felt is just abrasive enough to lift the mark without scratching the floor. It’s a simple, chemical-free fix that keeps your floors looking sharp and, more importantly, safe. Maintaining high safety standards is a critical part of facility management, and you can learn more from our resources on floor safety mats.
Handling Grease and Gum
Grease and gum are two of the tougher culprits, but they’re no match for the right technique. Here’s your step-by-step plan to avoid spreading the mess and making things worse.
-
Grease Spills: Common in workshops or garages, grease needs immediate attention.
- Blot up as much of the excess liquid as you can with a clean cloth.
- Apply a small amount of a pH-neutral degreaser directly to the spot and let it sit for 5-10 minutes.
- Gently scrub the area with a soft nylon brush.
- Wipe clean with a damp cloth and dry the area. Remember, never use solvent-based cleaners, as they can literally dissolve the rubber.
-
Chewing Gum: Seeing a wad of gum stuck to your floor is frustrating, but this method works every time.
- Fill a plastic bag with ice cubes and hold it directly on the gum.
- Wait until the gum becomes hard and brittle (usually 5-10 minutes).
- Use a plastic scraper to gently pop the frozen gum off the surface. This trick prevents a sticky, smeared mess and protects your floor.
Actionable Takeaway: The real secret to effective spot treatment is acting fast and using the right tool for the job. Keep a small "spot cleaning kit" handy with a plastic scraper, a soft brush, and a spray bottle of pH-neutral cleaner. This simple preparation can be the difference between a quick fix and a permanent stain.
Frequently Asked Questions About Rubber Floor Care
Even with the best guide, there are always a few specific questions that come up. Here are some quick, clear answers to the most common things we get asked about rubber floor care, so you can handle any unique challenge that comes your way.
Can I Use a Steam Cleaner on My Rubber Floor?
This is a big one, and the answer is a hard no. Steam cleaners are fantastic for some surfaces, but for rubber flooring, the combination of intense heat and high-pressure moisture is a recipe for disaster.
Real-World Example: A community center installed a new rubber floor in their playroom and thought steam cleaning would be the ultimate way to sanitize it. Instead, the heat completely broke down the adhesive. Within a month, the seams were bubbling and peeling away, requiring a costly repair. It's always best to stick with cool or lukewarm water and a pH-neutral cleaner to keep your floor in one piece.
How Do I Get Rid of the New Rubber Floor Smell?
That unmistakable "new floor" smell is from a process called "off-gassing," and the good news is, it's temporary. You can definitely speed up the process of getting rid of it with these steps:
- Ventilate: Open windows and doors, and use fans to circulate fresh air through the space.
- Mop: Clean the floor once or twice with your pH-neutral cleaner and warm water. This helps wash away residual oils from manufacturing that contribute to the odor.
- Absorb: For persistent smells, place open bowls of activated charcoal around the room. The charcoal is incredibly porous and will absorb the airborne compounds causing the smell.
Pro Tip: In a space with poor airflow, like a basement home gym, combining ventilation with the charcoal trick is the most effective way to eliminate the odor quickly. The smell should be gone within a week or two.
What Is the Best Cleaner for a Rubber Gym Floor?
In a high-traffic gym environment, you can't go wrong with a pH-neutral disinfectant cleaner. These cleaners are specifically formulated to cut through sweat, body oils, and bacteria without being too aggressive on the rubber itself. For any commercial fitness center, hygiene is non-negotiable, and these products sanitize effectively without putting your floor at risk. It's also smart to think about other flooring products you might have; for example, the care instructions for industrial anti-fatigue mats can differ, so always check what's compatible.
At Mats4U, our goal is to help you protect your investment with flooring solutions that are built to last. From entrance mats that stop dirt in its tracks to specialized flooring for any commercial space, we’ve got what you need. Take a look at our full range of products at https://www.mats4u.com.


